2024-11-05 Building a CRUD Webapp with Flask
Even though there are already countless examples out there, I still have to do this exercise here. I need to use this as the basis for later posts.
Objective
If you search the web for CRUD examples, you will still have to sieve through the results and find the ones that fit your needs. Some manual adaptions are expected, but you also want to keep the effort minimal. My check list is:
- Minimal, for beginner learning – I picked Python and Flask
- Modeling data using classes, with one-to-many and many-to-many relationships among multiple models
- Validation support – so WTForms is needed
- Not a single page, but separate pages for listing, creating, and updating
- Nice styling without too much setup – Bootstrap or Tailwind are both fine
- Data stored in SQL DB; can switch between SQLite/MySQL/PostgreSQL
I found some good examples that check most of the boxes. This DigitalOcean's series breaks the topic into many tasks nicely. Note that I generally want to find references that are complete and well written so that I can point readers to those places for more comprehensive understanding.
In this post I'd like to reduce the materials mentioned above "back" to a minimal version, to make it easier to explore other aspects later. One benefit is that I can add those features back later easier since they were there already.
Setup
First create a project folder and initialize the virtual environment:
mkdir noter
cd noter
python3 -m venv venv
source venv/bin/activate
To get started, include Flask first:
pip install FlaskCreate the app.py file to get started:
from flask import Flask

app = Flask(__name__)

@app.route('/')
def hello():
    return 'Hello, World!'
Launch the server:
$ flask run --debug
 * Debug mode: on
WARNING: This is a development server. Do not use it in a production deployment. Use a production WSGI server instead.
 * Running on http://127.0.0.1:5000
Press CTRL+C to quit
 ...
Visit the site http://127.0.0.1:5000 as suggested:
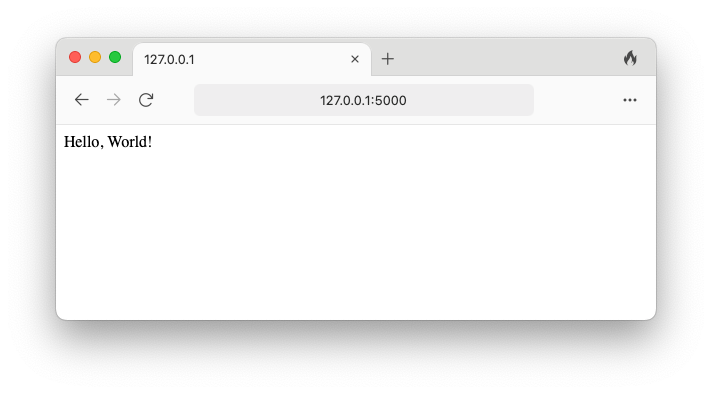
flask runlooks for theapp.pyfile to run. If you name it differently, likehello.py, then you can run withFLASK_APP=hello flask run, i.e. passing the module name via theFLASK_APPenvironment variable. Tryflask --helpfor more info.
We just "render" the string Hello, World\! as the front page. In practice we would use template system for this. Change app.py to
from flask import Flask, render_template

app = Flask(__name__)

@app.route('/')
def home():
    return render_template('home.html')
We also need to create a folder templates and the file home.html in it:
<!DOCTYPE html>
<html lang="en">
    <head>
        <title>Home</title>
    </head>
    <body>
        <h1>Hello, World!</h1>
    </body>
</html>
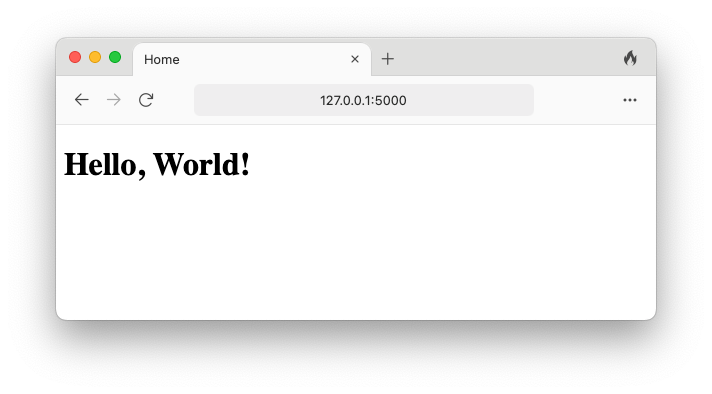
Save the file and the server will reload. Refresh the page and we get something a little different:
Adding Note Class
I would like to build a note taking webapp. This serves as the basis for future extension, including potential integration with other note taking tools out there.
Without using databases and associated libraries, let's define plain class for illustration first. Add the Note class and notes array in the app.py file directly:
from flask import Flask, render_template

class Note:
    def __init__(self, id, title, text):
        self.id = id
        self.title = title
        self.text = text

notes = [
  Note(1, 'README', 'Check this out'),
  Note(3, 'todo', 'go shopping'),
  Note(2, 'help', 'some memos'),
]

app = Flask(__name__)

@app.route('/')
def home():
    return render_template('home.html')

@app.route('/notes')
def note_index():
    return render_template('note-index.html', notes=notes)
Also create the template file note-index.html in the template folder:
<!DOCTYPE html>
<html lang="en">
    <head>
        <title>Notes</title>
    </head>
    <body>
        <h1>My Notes</h1>
        <ul>
          {% for note in notes %}
          <li>{{ note.title }}: {{ note.text }}</li>
          {% endfor %}
        </ul>

        <p><a href="/">Back</a></p>
    </body>
</html>
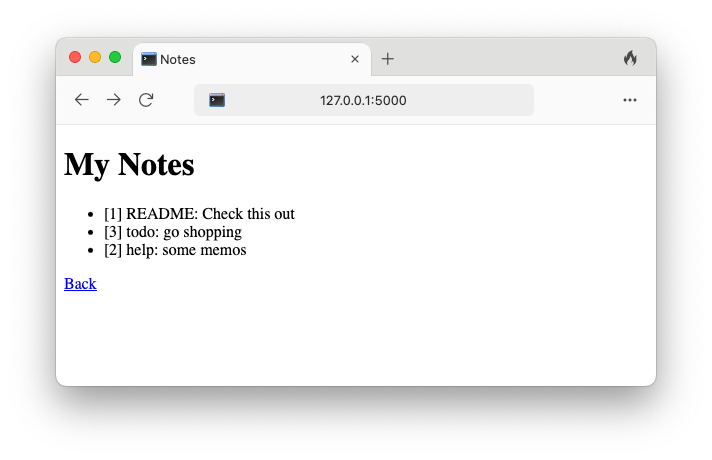
See how the variables (notes) passed from code to templates, and how they are "expanded" in the Jinja2 template file using directives such as{% ... %}and{{ ... }}.
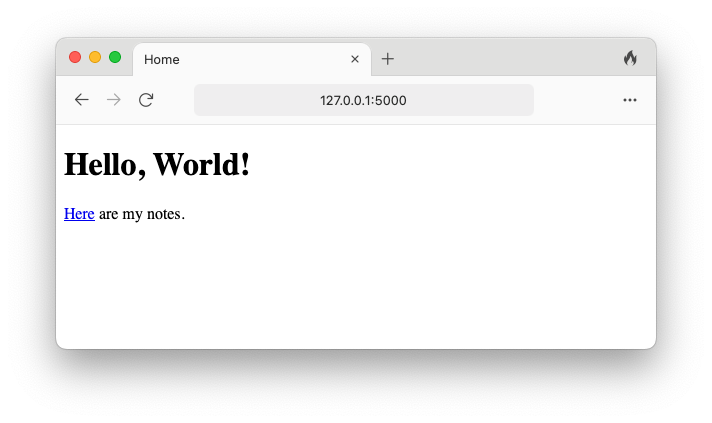
Before visiting the URL http://127.0.0.1:5000/notes, let's add a link in the home page first:
<!DOCTYPE html>
<html lang="en">
    <head>
        <title>Home</title>
    </head>
    <body>
        <h1>Hello, World!</h1>
        <p><a href="/notes">Here</a> are my notes.</p>
    </body>
</html>
Now we have:
and
Template Inheritance
The two templates we just created contain a lot of common text fragments. The Jinja2 templating library provides mechanisms to help reduce the duplication. Create a new "base" template file base.html and modify the others accordingly:
base.html
<!DOCTYPE html>
<html lang="en">
    <head>
        <title>{% block title %}{% endblock %}</title>
    </head>
    <body>
        {% block body %}{% endblock %}
    </body>
</html>
home.html
{% extends 'base.html' %}

{% block title %}Home{% endblock %}

{% block body %}
    <h1>Hello, World!</h1>
    <p><a href="/notes">Here</a> are my notes.</p>
{% endblock %}
note-index.html
{% extends 'base.html' %}

{% block title %}Notes{% endblock %}

{% block body %}
    <h1>My Notes</h1>
    <ul>
      {% for note in notes %}
      <li>[{{ note.id }}] {{ note.title }}: {{ note.text }}</li>
      {% endfor %}
    </ul>

    <p><a href="/">Back</a></p>
{% endblock %}
The resulting pages look the same, even the rendering mechanism is different.
See how "blocks" are defined as placeholders in base.html, and how a template "inherits" from it with blocks filled.Viewing Notes
Let's see how to view each note individually. Add an additional "dynamic" route in app.py:
from flask import Flask, render_template

class Note:
    def __init__(self, id, title, text):
        self.id = id
        self.title = title
        self.text = text

notes = [
  Note(1, 'README', 'Check this out'),
  Note(3, 'todo', 'go shopping'),
  Note(2, 'help', 'some memos'),
]

def find_note(notes, id):
  for note in notes:
    if note.id == id:
       return note
  return None

app = Flask(__name__)

@app.route('/')
def home():
    return render_template('home.html')

@app.route('/notes')
def note_index():
    return render_template('note-index.html', notes=notes)

@app.route('/notes/<int:note_id>')
def note_view(note_id):
    note = find_note(notes, note_id)
    return render_template('note-view.html', note=note)
Pay attention to the route parameter @app.route('/notes/<int:note_id>') and the required parameter note_id of the note_view function.
- Flask will parse input URL against each route; here it match URL paths like
/notes/1or/notes/321, but not/notes/abc. - The matched argument will be bound to the variable
note_idas input to thenote_viewfunction.
The function does not have to be namednote_view; just don't conflict with the others in the same module. But the name is needed for theurl_forfunction that will be discussed later.
Let's also change the note-index.html template:
{% extends 'base.html' %}

{% block title %}Notes{% endblock %}

{% block body %}
    <h1>My Notes</h1>
    <ul>
      {% for note in notes %}
      <li>
        <a href="/notes/{{ note.id }}">{{ note.title }}</a>
      </li>
      {% endfor %}
    </ul>

    <p><a href="/">Back</a></p>
{% endblock %}
We also need to add the template for viewing individual notes. Name it note-view.html:
{% extends 'base.html' %}

{% block title %}Note{% endblock %}

{% block body %}
    <h1>Note [{{ note.id }}]</h1>
    <ul>
      <li>title: {{ note.title }}</li>
      <li>text: {{ note.text }}</li>
    </ul>

    <p><a href="/notes">Back</a></p>
{% endblock %}
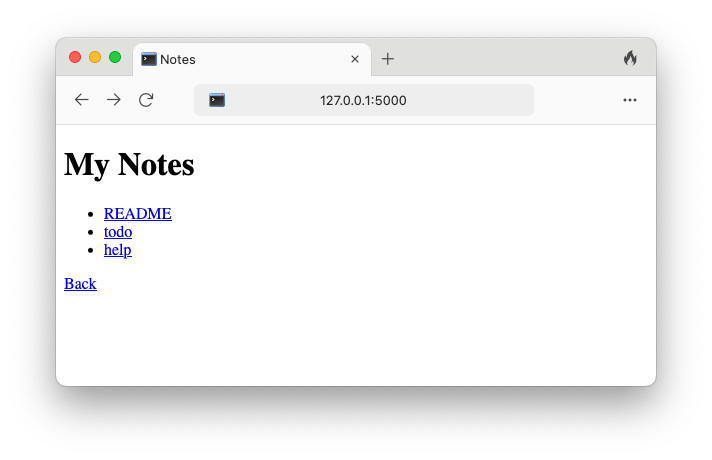
Now we have the note list at http://127.0.0.1:5000/notes
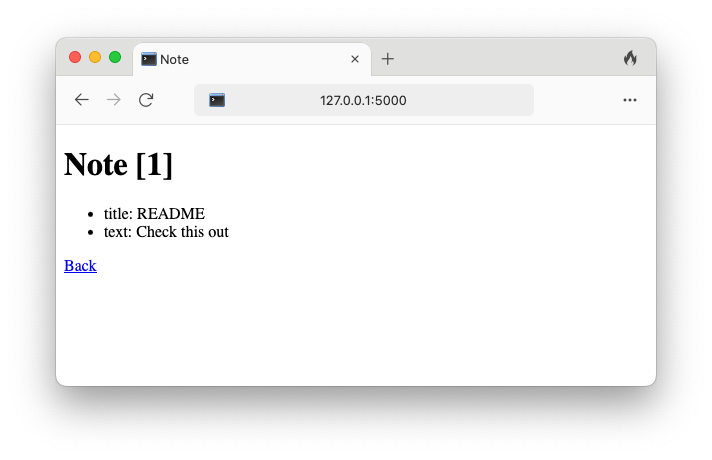
and a page for each particular note (e.g. http://127.0.0.1:5000/notes/1):
However, if we purposely visit the URL http://127.0.0.1:5000/notes/123, we see:
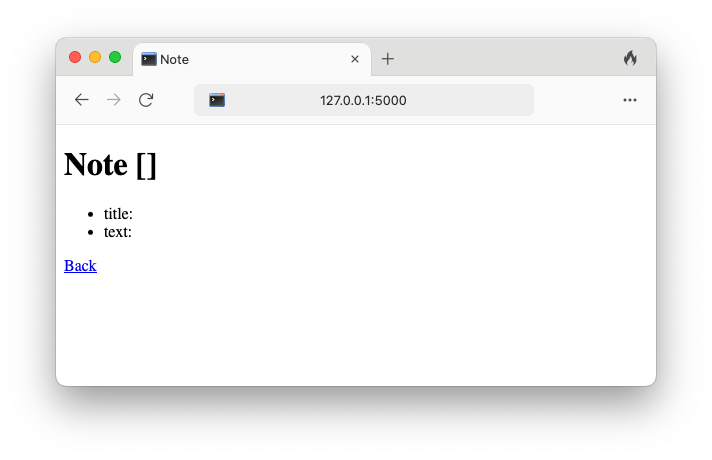
Looking at the code, we see that even though we look for the note with ID 123 and get a None in return, None is still passed as a note to the template, which still tries to render its contents (as empty strings). This is not right. To fix this, change app.py by adding abort:
from flask import Flask, render_template, abort

...

@app.route('/notes/<int:note_id>')
def note_view(note_id):
    note = find_note(notes, note_id)
    if not note:
        abort(404)
    return render_template('note-view.html', note=note)
The page for http://127.0.0.1:5000/123 now looks like:
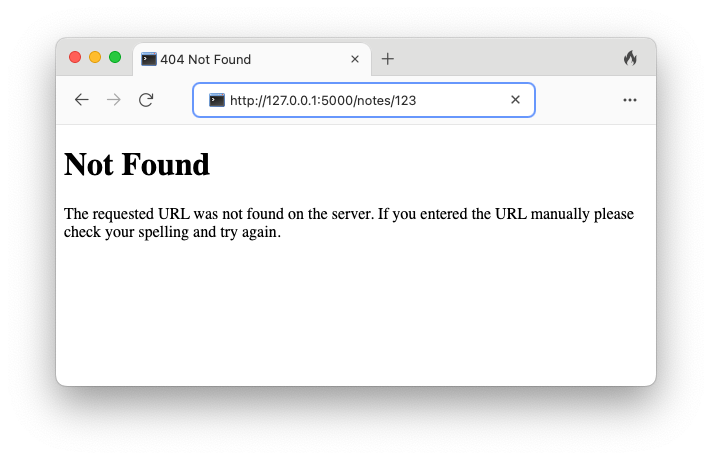
which behaves in a more "conventional" manner.
url_for
When you look at examples on the web, you may see that people do not hard code the URL link in the template. Instead of /notes/{{ note.id }}, you will see {{ url_for('note_view', note_id=note.id) }}. The reason being that, Flask maintains the function associated with each route (the one with the @app.route decorator), and the url_for function can infer the original URL path based on the function name and the keyword arguments. So, the template note-view.html can be changed to
{% extends 'base.html' %}

{% block title %}Notes{% endblock %}

{% block body %}
    <h1>My Notes</h1>
    <ul>
      {% for note in notes %}
      <li>
        <a href="{{ url_for('note_view', note_id=note.id) }}">
            {{ note.title }}
        </a>
      </li>
      {% endfor %}
    </ul>

    <p><a href="/">Back</a></p>
{% endblock %}
One reason for using url_for is that, some time later if you want to change the URL pattern for the notes, such as to /note/1, you only need to change in one place instead of going through all affected templates and modifying the hard-coded links.
Note that the first argument tourl_forshould match the function name (e.g.note_view).
Updating Notes
Let's focus on how to update notes first. We will come to creating notes later. From "outside in", first add a link in note-view.html that jumps to an editor page for the note:
{% extends 'base.html' %}

{% block title %}Note{% endblock %}

{% block body %}
    <h1>Note [{{ note.id }}]</h1>
    <ul>
      <li>title: {{ note.title }}</li>
      <li>text: {{ note.text }}</li>
      <li><a href="{{ url_for('note_edit', note_id=note.id) }}">edit</a></li>
    </ul>

    <p><a href="/notes">Back</a></p>
{% endblock %}
With the change we need to add the route in app.py:
from flask import Flask, render_template, abort, request
...
@app.route('/notes/<int:note_id>/edit', methods=['GET', 'POST'])
def note_edit(note_id):
    print("  method:", request.method)
    print("  form:", request.form)
    note = find_note(notes, note_id)
    if not note:
        abort(404)

    return render_template('note-edit.html', note=note)
For now I make the route and the function note_edit similar to note_view (the methods parameter will be discussed below), but the template file note-edit.html contains a form:
{% extends 'base.html' %}

{% block title %}Note{% endblock %}

{% block body %}
    <h1>Note [{{ note.id }}] - Edit</h1>

    <form method="post" action="{{ url_for('note_edit', note_id=note.id) }}">
      <p>
        <label for="title">Title</label>
        <input type="text" name="title" id="title" placeholder="Title">
      </p>

      <p>
        <label for="text">Text</label>
        <textarea type="text" name="text" id="text" placeholder="Text"></textarea>
      </p>

      <p>
        <a href="{{ url_for('note_view', note_id=note.id) }}">Cancel</a> |
        <button type="submit">Submit</button>
      </p>
    </form>
{% endblock %}
When we jump from a note view to its editor view, we see (e.g. http://127.0.0.1:5000/notes/1/edit)
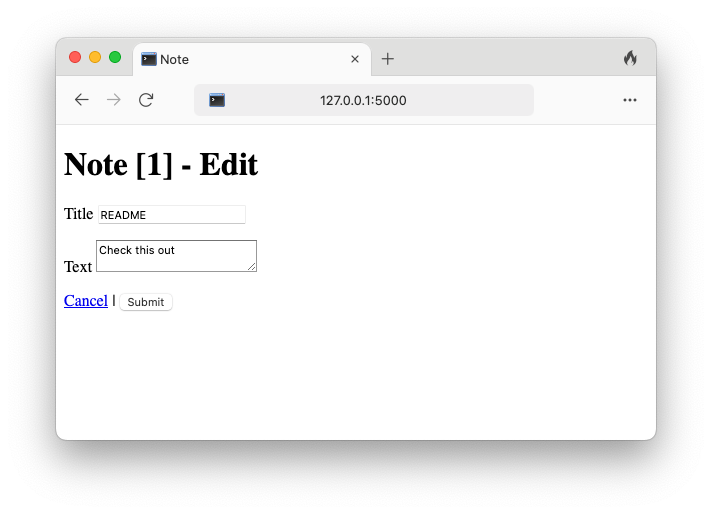
We can click Cancel to go back, but clicking Submit seems to have no effect. Again from "outside in", let's see the flow of data processing if we click the Submit button:
- Because the button type is
submit, the data entered in the form by the user is collected - Then a "POST request" (given in the form's
methodattribute) with the collected data is sent to URL/notes/1/edit(in the form'sactionattribute with value computed byurl_for) - The URL path matches the one for
note_edit, which is executed, with the method and user data passed with therequestobject provided by Flask.
We can see the print out on the console to confirm:
...
  method: POST
  form: ImmutableMultiDict([('title', 'README'), ('text', 'Check this out')])
127.0.0.1 - - [05/Nov/2024 20:44:59] "POST /notes/1/edit HTTP/1.1" 200 -
If you click Cancel, come back again, and click submit again, the console further prints:
...
127.0.0.1 "GET /notes/1 HTTP/1.1" 200 -
  method: GET
  form: ImmutableMultiDict([])
127.0.0.1 "GET /notes/1/edit HTTP/1.1" 200 -
  method: POST
  form: ImmutableMultiDict([('title', 'README'), ('text', 'Check this out')])
127.0.0.1 "POST /notes/1/edit HTTP/1.1" 200 -
Play with it and confirm that:
- when entering
/notes/1/editfrom the view,note_editis called with methodGETand an empty form - when clicking
Submitand submit the form, the method isPOSTand the form contains data
A classical flow for updating data that makes use of the observation is given below:
...
from flask import redirect, url_for
...

@app.route('/notes/<int:note_id>/edit', methods=["GET", "POST"])
def note_edit(note_id):
    note = find_note(notes, note_id)
    if not note:
        abort(404)

    if request.method == 'POST':
        note.title = request.form.get('title')
        note.text = request.form.get('text')
        return redirect(url_for('note_view', note_id=note.id))

    return render_template('note-edit.html', note=note)
That is, if the request method is not POST, we will render the template like before. Otherwise the user is submitting the form, and we retrieve the data, update the corresponding note object, and redirect back to the note view.
But this only cover a small part of form processing. In general, if the user enters some invalid input, the system should catch it, show the errors, and ask the user to submit it again. This involves some tedious but very important programming. So people tend to use libraries for this task, which is what we want to do below. More importantly, there are many security concerns related to web development, and using mature libraries that help in this regard is crucial.
WTForms
WTForms is a widely used library that help form rendering and validation for Python web development. To use it in Flask, we often install the Flask-WTF package instead, which wraps WTForms with some convenient support.
Stop the server and install the Flask-WTF package:
pip install Flask-WTFCreate forms.py that contains NoteForm class for notes:
from flask_wtf import FlaskForm
from wtforms import StringField, TextAreaField
from wtforms.validators import InputRequired, Length

class NoteForm(FlaskForm):
    title = StringField('Title', validators=[
      InputRequired(),
      Length(min=5, max=100),
    ])
text = TextAreaField('Text')- WTForms provides many types of fields, and we are using
StringFieldandTextAreaFieldonly. - There are also many validators. I pick
InputRequiredandLengthfor illustration purpose.
To use NoteForm, change the note_edit() function in app.py:
...
app = Flask(__name__)
app.config['SECRET_KEY'] = '123454321'
...
@app.route('/notes/<int:note_id>/edit', methods=["GET", "POST"])
def note_edit(note_id):
    note = find_note(notes, note_id)
    if not note:
        abort(404)

    form = NoteForm(obj=note)
    if request.method == 'POST':
        if form.validate_on_submit():
            note.title = form.title.data
            note.text = form.text.data
            return redirect(url_for('note_view', note_id=note.id))

    return render_template('note-edit.html', note=note, form=form)
Note that NoteForm will get the data from request.form , if exists, or use the values from the obj. If validation fails, form will carry associated errors for the template to show.
Remember to set the SECRET_KEY setting for the app, which is required for WTFormsWith the new input form, the template note-edit.html can be changed accordingly:
{% extends 'base.html' %}

{% block title %}Note{% endblock %}

{% block body %}
    <h1>Note [{{ note.id }}] - Edit</h1>

    <form method="post" action="{{ url_for('note_edit', note_id=note.id) }}">
        {{ form.csrf_token }}
        <p>
            {{ form.title.label }}
            {{ form.title(size=20) }}
        </p>

        {% if form.title.errors %}
            <ul class="errors">
                {% for error in form.title.errors %}
                    <li>{{ error }}</li>
                {% endfor %}
            </ul>
        {% endif %}

        <p>
            {{ form.text.label }}
        </p>
        {{ form.text(rows=3, cols=50) }}

        {% if form.text.errors %}
            <ul class="errors">
                {% for error in form.text.errors %}
                    <li>{{ error }}</li>
                {% endfor %}
            </ul>
        {% endif %}

        <p>
            <a href="{{ url_for('note_view', note_id=note.id) }}">Cancel</a> |
            <input type="submit" value="Submit">
        </p>
    </form>
{% endblock %}- We see the inclusion of
{{ form.csrf_token }}which is used to strengthen protection. - Each form field (
form.titleandform.text) has versatile utilities to help form rendering.
If we visit the edit view again http://127.0.0.1:5000/notes/1/edit, and click Submit directly, we see:
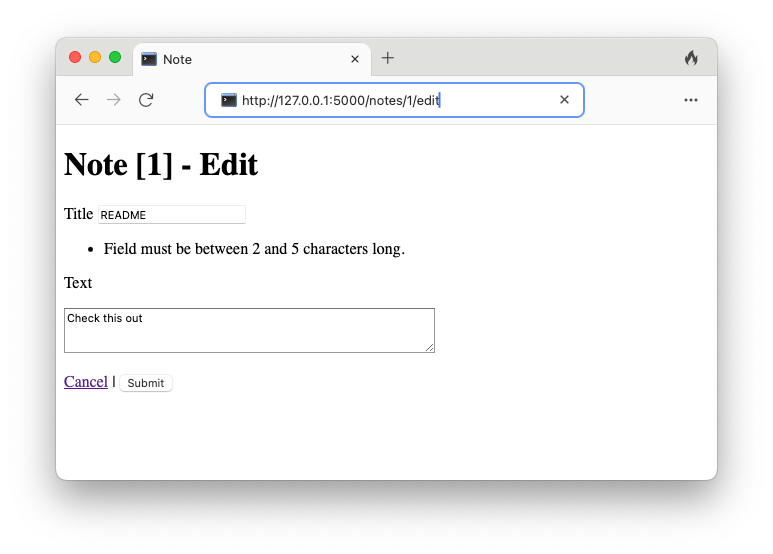
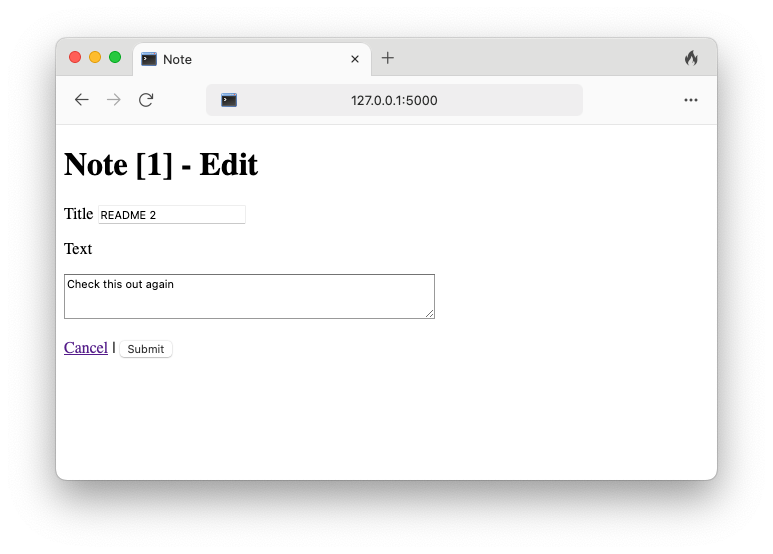
Because the title is exceeding the maximum length 5, so the error is shown and we are still at the same URL posting. You can change the validator back to normal now, and make sure entered data are saved.
Deleting Notes
Deleting notes is easier but a bit tricky. Add a route in app.py:
...
def delete_note(id):
  global notes
  notes = [n for n in notes if n.id != id]
...
@app.route('/notes/<int:note_id>/delete')
def note_delete(note_id):
    note = find_note(notes, note_id)
    if not note:
        abort(404)

    delete_note(note.id)
    return redirect(url_for('note_index'))
And add a link in note-edit.html next to Cancel:
...
<p>
    <a href="{{ url_for('note_view', note_id=note.id) }}">Cancel</a> |
    <a href="{{ url_for('note_delete', note_id=note.id) }}">Delete</a> |
    <input type="submit" value="Submit">
</p>
...
In other words, we can delete the note with ID 1 by visiting the URL http://127.0.0.1:5000/notes/1/delete. The route does not render anything. It redirects back to the index page when the specified note is deleted successfully.
Note that, however, this is just for a quick illustration. Visiting a URL like http://127.0.0.1:5000/notes/1/delete is just a regular GET request (from the browser). In general people consider GET requests idempotent, meaning making multiple GET requests should return the same result and does not have unintended side effects, but here after a note is deleted the same URL is no longer valid.Creating Notes
So far we covered only Updating and Reading in CRUD operations. I will skip Creation, which is similar to updating but needs to consider ID management, as each note needs to be assigned a unique, immutable ID. I will cover this when using real databases, which often have this problem solved.
